K1VRA Home Page
Hi. My name is Dick and I am a licensed Amateur Radio Operator. My Amateur Radio callsign is K1VRA. After living in Rockport, MA for more than 20 years, my wife & I recently retired to Jefferson, ME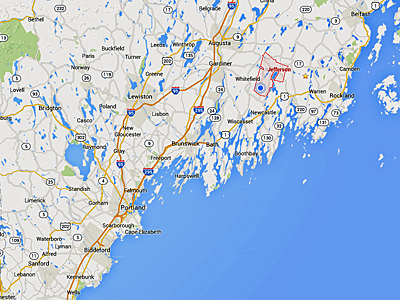 . I have been a member of the Cape Ann Amateur Radio Association
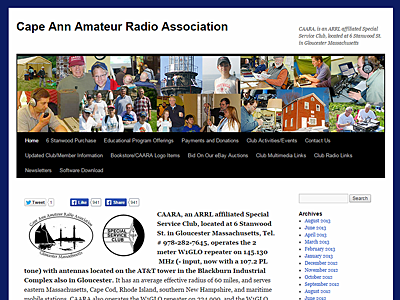 in Gloucester, MA since May of 1992, where I am their Assistant Webmaster. I am primarily responsible for the member-oriented portion of the ’site
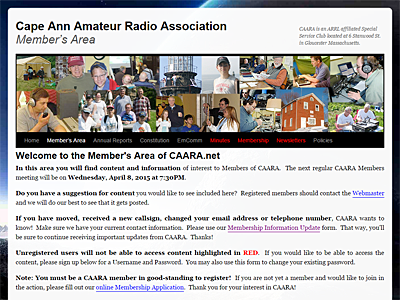 .
.
Here you will find some Amateur-Radio-Related items, as well as lots of other stuff that interests me. I figured hey - I’m a “Ham” and it interests me so why wouldn’t it interest other like-minded people, too? You be the judge.
Welcome to my website. I hope you find it interesting, entertaining, or useful. There’s a lot of neat stuff here, and many of the links will take you off-site. Bookmark me so you can return, and you can always use your browser’s “back” button to return here, too. If you would like to know more about something you found here, please don’t hesitate to send email. And if you think something’s broken, let me know about that, too. Please don’t forget to tell me which browser & version# you are using - it helps me to help you. Thanks.